Flat under a low light
Hold a lamp or a phone torch close to the wall and shine it along the surface rather than at it. Low-angle light is unforgiving — hollows, ripples and high spots all throw a shadow. A flat wall stays flat under it.
 Free quote ↗
Good plastering should disappear into the room. This page sets out what that means in practice, what you can check with your own eyes, and how we go about getting there.
You don’t need a trade eye to judge plastering. You need a light, a few minutes and a short list of things to look at.
A finish is either flat, straight and clean or it is not, and the wall itself will tell you which. The checks below are the ones worth making on any plastering job, and you can make every one of them yourself. None of them need special kit.
Plaster also moves as it dries, so give it time to go off and lighten before you judge it. Patchy, darker areas are usually just damp plaster, not a fault in the work.
Hold a lamp or a phone torch close to the wall and shine it along the surface rather than at it. Low-angle light is unforgiving — hollows, ripples and high spots all throw a shadow. A flat wall stays flat under it.
Internal corners should run straight from floor to ceiling without wandering. External corners, window reveals and the line where wall meets ceiling should be crisp and consistent, not rounded off or wavy.
Sockets, switches, door linings and skirtings are where careless work shows first. Plaster should meet them cleanly, with no gaps opening up along the joint and no ragged edges left behind for the decorator to sort out.
Run the flat of your hand across the surface. You shouldn’t feel ridges where a trowel has stopped and started, and you shouldn’t see pinholes or small craters when you look across the wall at an angle.
A finished surface should be even and clean, with the dust and debris cleared away and nothing left needing filling or sanding back first. That is what “ready to decorate” actually means.
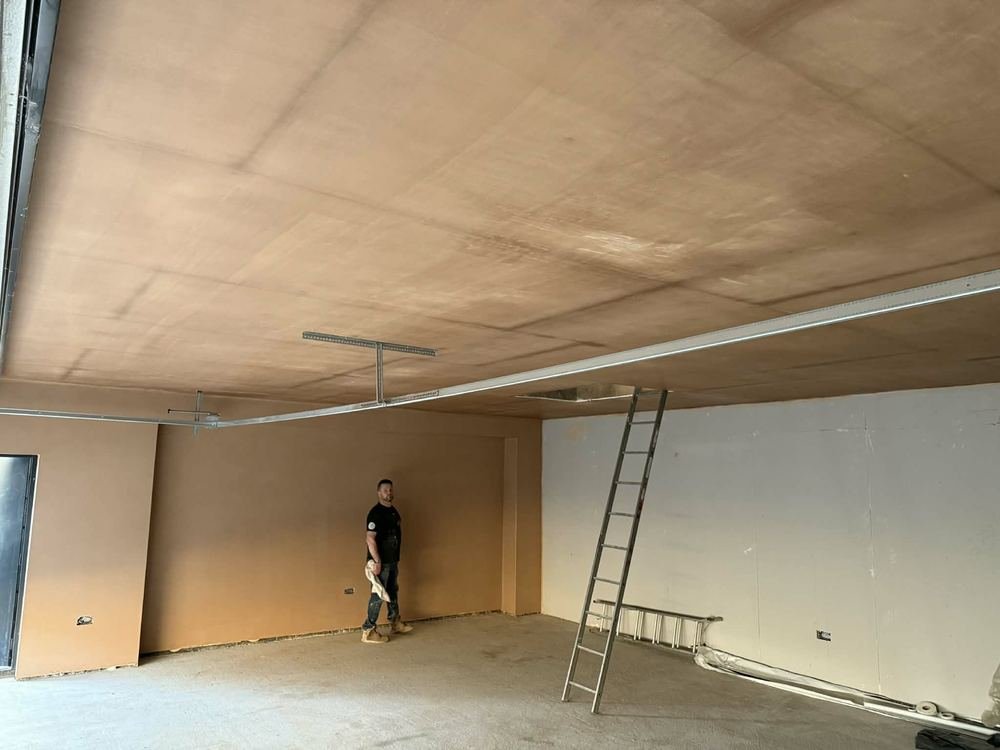
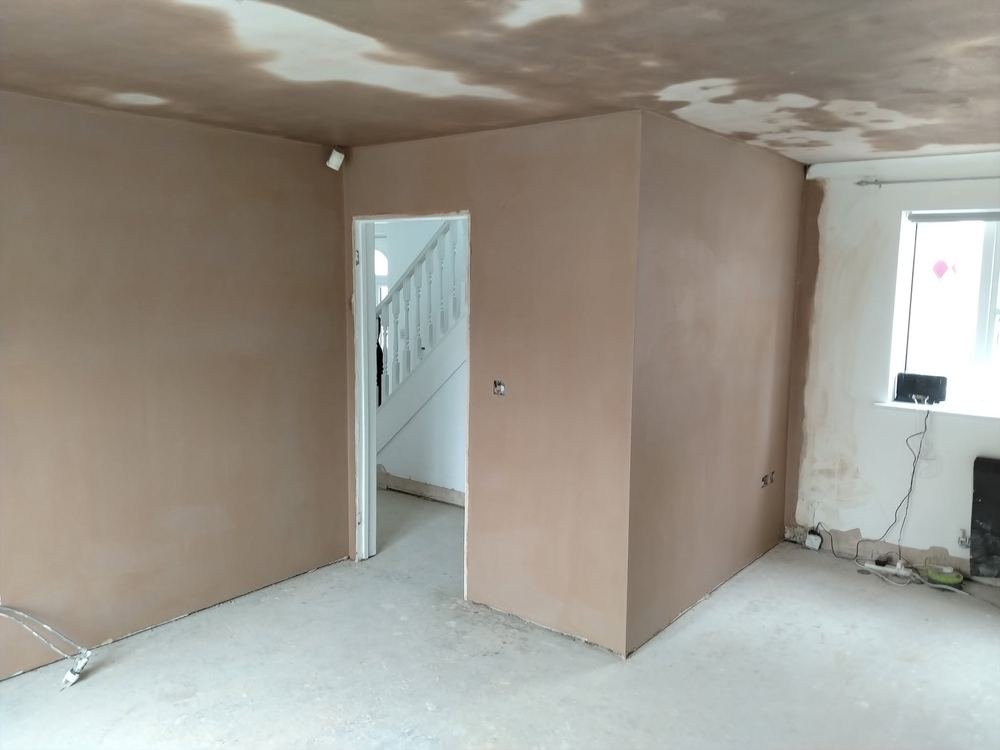
What the room looked like when we walked in, and what it looked like when we left.
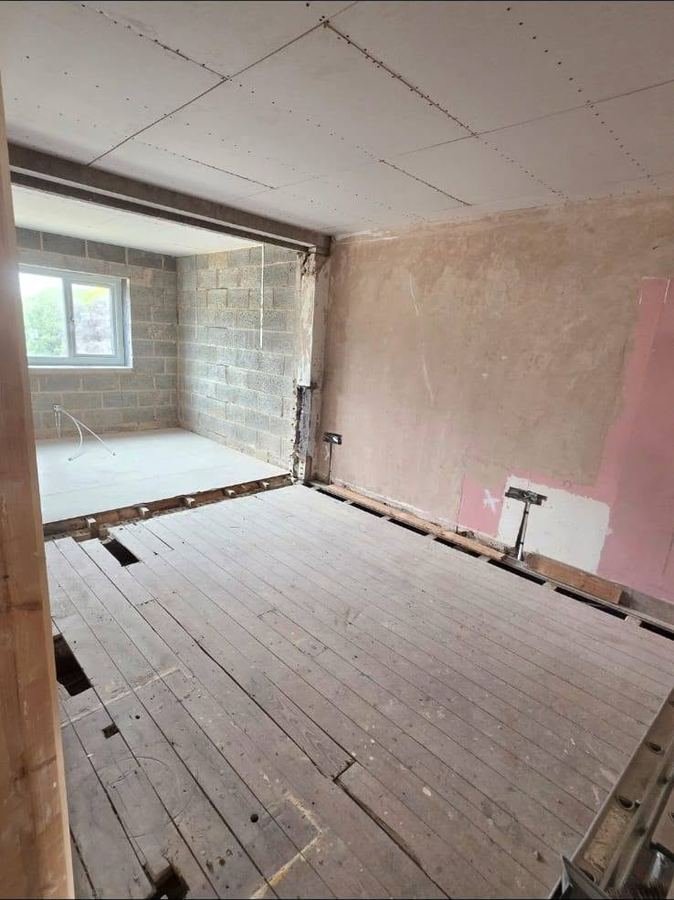
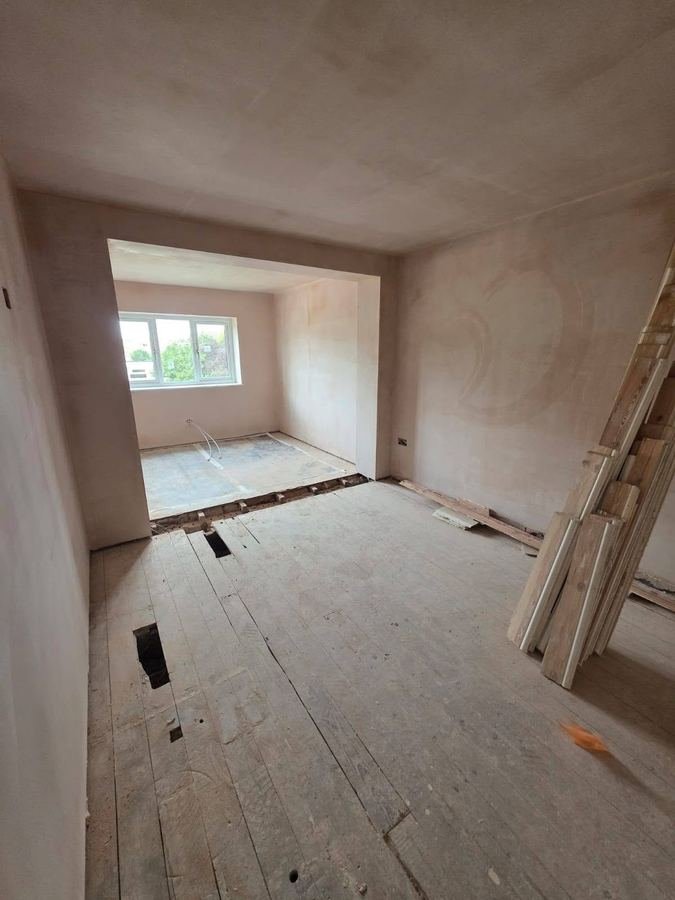
Bare blockwork and floor joists, plastered out into a finished room.
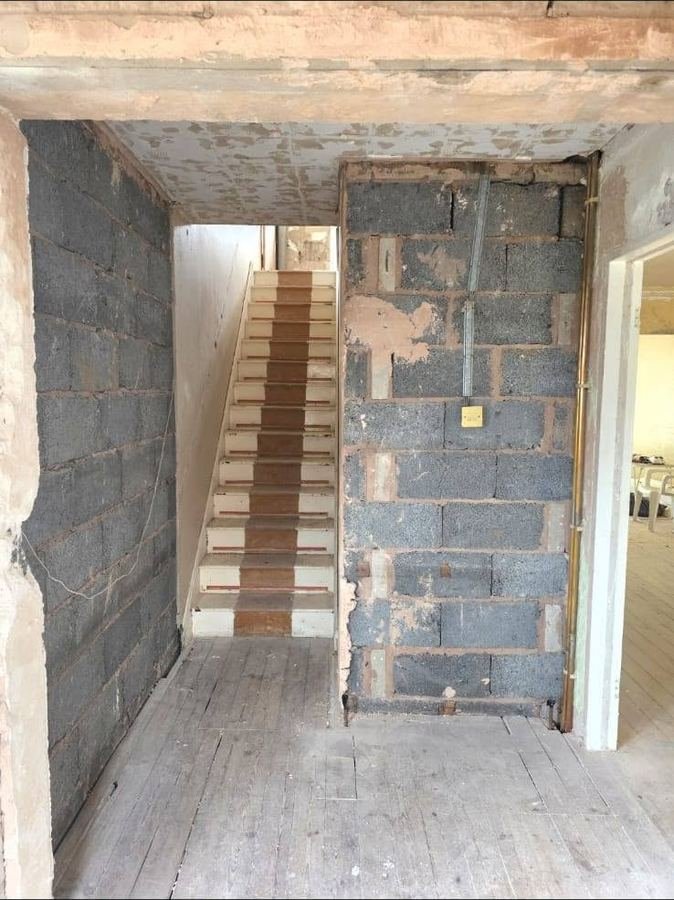
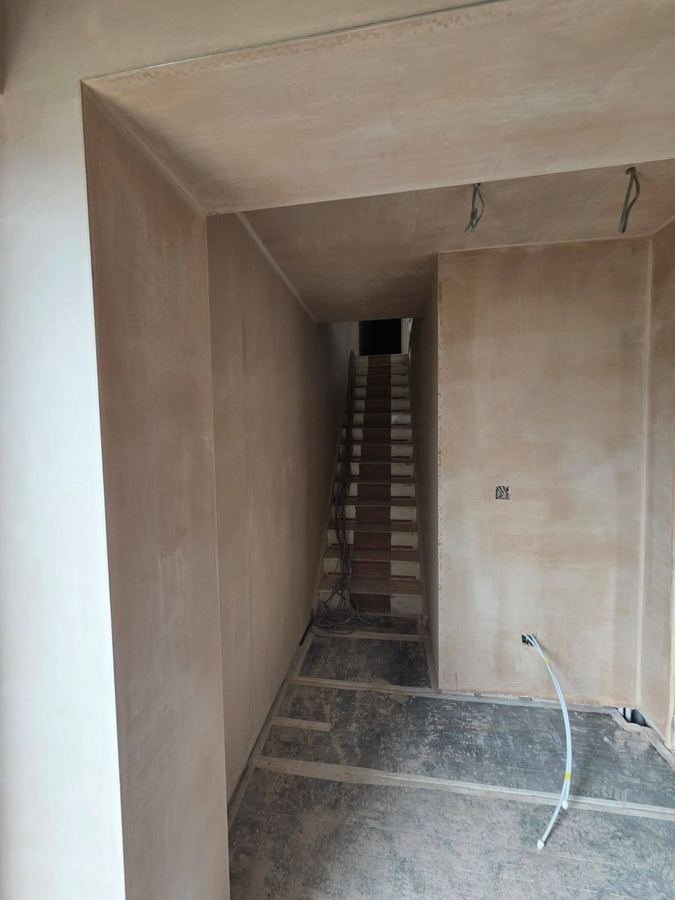
A stairwell in bare block, plastered top to bottom including the head of the stairs.
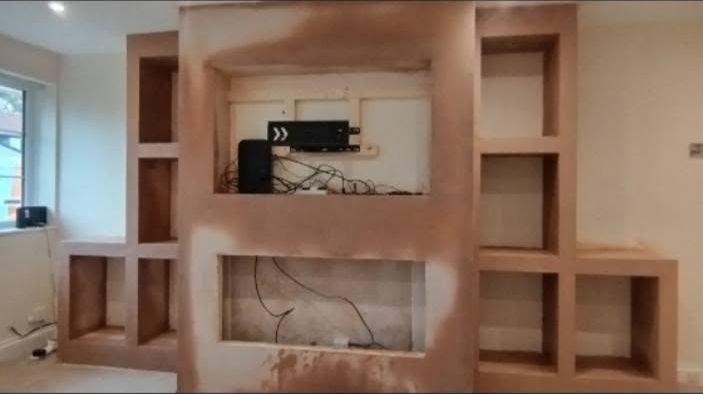
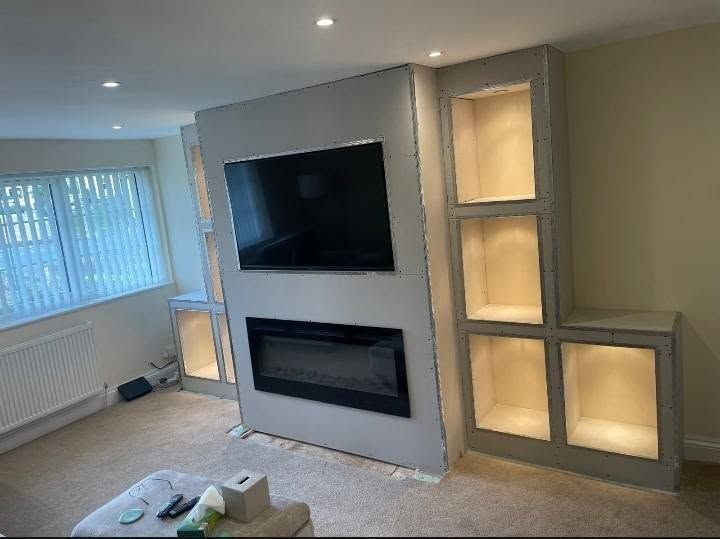
A media wall built and plastered, and the same wall once the decorator had been in.
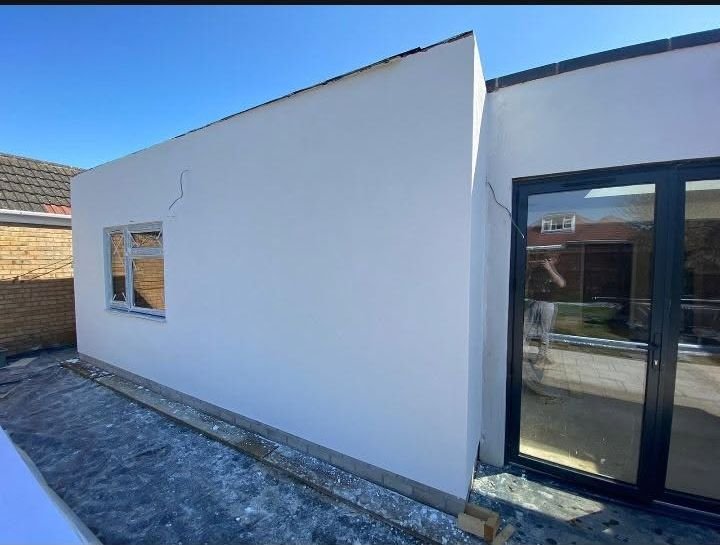
Whether it is one patch repair or every room in the house, the job follows the same three steps.
A quick call or a few photos is enough to get started.
We’ll send you a quote, or come out and price the job up in person.
We protect the room, do the work and tidy up afterwards.
Tell us what needs doing — a quick call or a few photos is enough to get started.